-
1
Initial Pre-Wash & Foam Application
The process begins with a thorough pre-wash using a vehicle-safe pressure washer and a foam cannon.
I first apply a specialized vehicle shampoo formulated specifically for ceramic coating preparation. The foam is allowed to work on the surface to loosen dirt, road grime, and environmental buildup before the vehicle is thoroughly rinsed.
The vehicle-safe pressure washer is then used to remove the loosened contamination and prepare the vehicle for the contact wash.
-
2
Two-Bucket Hand Wash
After the initial rinse, I move into a controlled two-bucket hand-washing process.
Both buckets contain water and the same ceramic coating preparation shampoo, with one bucket serving as the wash solution and the other dedicated to rinsing the wash mitt.
Each bucket is equipped with a grit guard. Grit guards help separate dirt and heavier particles from the wash solution, keeping them at the bottom of the bucket and away from the wash mitt.
I wash the vehicle one panel at a time, thoroughly rinsing and reloading the mitt between sections. I work from the top of the vehicle downward, allowing the cleaner portions of the vehicle to be addressed before moving toward areas that typically contain heavier road grime.
-
3
Iron Decontamination
After the hand wash, the vehicle undergoes an iron decontamination treatment.
Iron particles from sources such as brake dust and industrial fallout can become bonded to the vehicle's paint and cannot always be removed through normal washing. An iron remover chemically reacts with these ferrous particles, breaking them down so they can be safely rinsed away.
This removes embedded iron contamination that a standard wash cannot effectively address and further prepares the paint for the correction process.
-
4
Complete Rewash
Following the iron decontamination, I wash the vehicle again.
This additional wash removes any remaining iron-removal solution and loosened contamination from the vehicle. It also thoroughly flushes areas around emblems, trim, body seams, and other areas where product or contaminated water may collect.
While this additional wash may seem excessive to some, I consider it an important part of ensuring the vehicle is completely clean before moving into mechanical decontamination.
-
5
Mechanical Decontamination: Clay Bar
Once the vehicle has been chemically decontaminated and rewashing is complete, I move to mechanical decontamination using a clay bar or appropriate clay media.
A clay bar is designed to remove bonded contaminants that remain attached to the paint after washing and chemical decontamination. These can include industrial fallout, overspray, rail dust, and other microscopic particles that can leave the paint feeling rough even when it appears visually clean.
The clay media is used with a dedicated lubricant and carefully worked across the paint to lift these remaining contaminants from the surface.
The result is an exceptionally clean and smooth surface that is ready for paint correction.
-
6
Paint Inspection & Correction
With the paint thoroughly cleaned and decontaminated, I move into paint correction.
Paint correction is the process of refining the vehicle's paint through controlled machine polishing to reduce or remove imperfections such as swirl marks, light scratches, oxidation, water spotting, and other defects, depending on the condition of the paint and the level of correction being performed.
I work in small, controlled sections at a time, allowing me to carefully monitor the paint and maintain consistent results throughout the vehicle.
Before each section is polished, I use a panel preparation spray to ensure the surface is completely clean immediately before the polishing process begins.
I use professional machine polishers in multiple sizes to ensure I have the appropriate machine for the different surfaces, contours, and areas of the vehicle.
Paint correction is sometimes referred to as buffing, but professional paint correction involves considerably more than simply running a buffer over the vehicle. Pad selection, polishing compound, machine speed, pressure, working time, paint hardness, temperature, and the condition of the paint all influence the correction process.
-
7
Final Panel Preparation
Once paint correction is complete, the vehicle undergoes a final preparation process before the ceramic coating is applied.
Polishing can leave behind oils, lubricants, and microscopic residues that may interfere with the coating's ability to properly bond to the paint. A dedicated panel preparation solution is used to remove these residues and expose a clean surface.
This step ensures that the ceramic coating is being applied directly to properly prepared paint, without polishing residue or other substances interfering with the coating's bond.
-
8
Ceramic Coating Application
Only after the paint has been thoroughly washed, chemically decontaminated, mechanically decontaminated, corrected, and properly prepared is the vehicle ready for the ceramic coating.
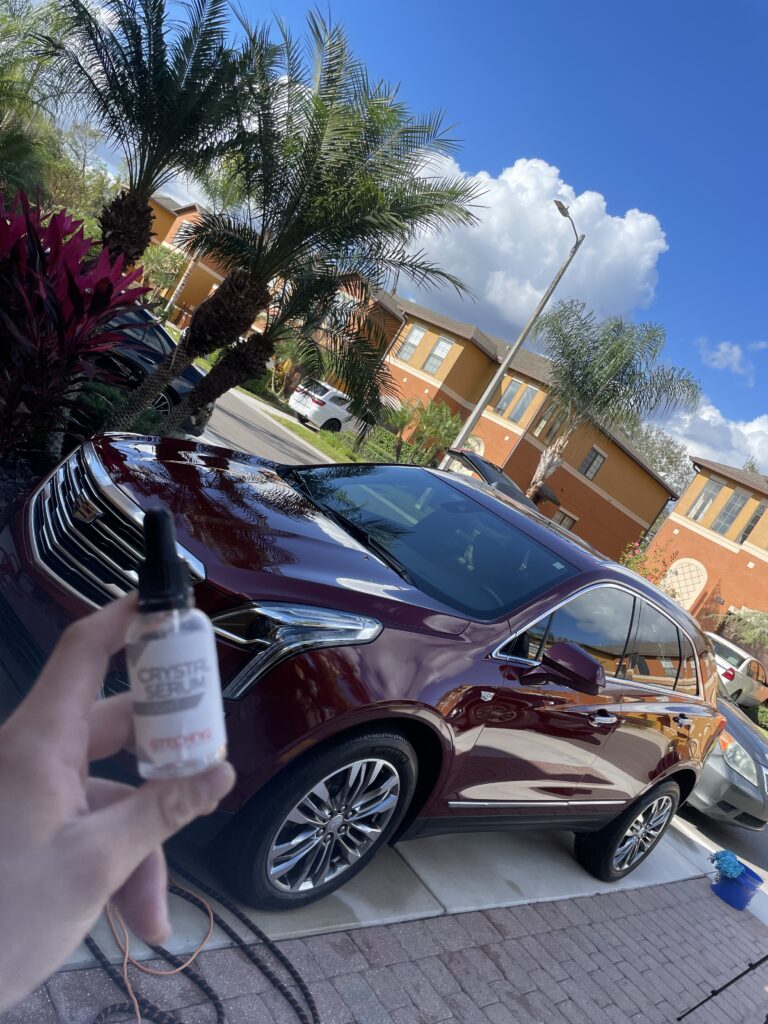
A professional, true ceramic coating is packaged in a glass bottle because of the reactive chemical components within the coating formulation. These formulations require packaging that can withstand the chemistry of the product without reacting with or compromising the coating before it is applied.
This is one of the fundamental differences between a professional ceramic coating and many consumer-level ceramic sprays or ceramic-infused products. Products marketed as ceramic sprays or ceramic protection products may contain ceramic-based ingredients, but they are formulated differently and do not provide the same coating structure, concentration, or long-term performance as a professional ceramic coating.
The coating is applied to the prepared paint one section at a time using a dedicated coating applicator. A controlled amount of product is applied and evenly spread across the section in a systematic pattern to ensure consistent coverage.
The coating is then allowed to flash. Flashing occurs as the carrier solvents within the coating begin to evaporate and the coating starts transitioning from its liquid state toward its cured film.
The flash time is carefully monitored because the appropriate leveling window depends on the specific coating formulation and environmental conditions such as temperature and humidity.
Once the coating reaches the appropriate flash point, it is carefully leveled using specialized microfiber towels. Excess coating is removed while leaving behind an even, uniform layer of protection.
Each section is carefully inspected during the application process to ensure the coating is properly leveled before moving to the next section.
This process is repeated systematically across the vehicle until all applicable painted surfaces have been coated.